The first few days of the season, I am always out of shape and out of practice. Somehow, I still found myself holding a chainsaw on day one. I pride myself in being a handy lady. I know my way around tools and enjoy physical labor, but a chainsaw is a whole new beast to me.
Taylor Beeson and I headed to Colorado Firecamp to take an S-212 Chainsaw course, and become Sawyer A’s. With this certification, which many CFI staff obtain in order to do important timber work below tree line (have you seen those Quandary check steps yet?!), we will be able to fall, limb, and buck trees that can then be used for construction.
“Firecamp”. The name itself is intimidating. Add a chainsaw and I’m terrified. Reassured by Taylor’s calm, positivity, and Wilderness First Responder certification, as well as this unexpectedly warm welcome sign,

I took a seat in the classroom of 20 men and 3 women. Day one was a full day of classroom time to teach us about our chainsaws, how to maintenance them, safety, and to establish a healthy fear of misusing our saws. My take-aways were to wear Personal Protective Equipment (hard hat, eye and ear protection, long sleeve shirt, chaps, and tall leather boots), “ALWAYS, ALWAYS, ALWAYS, keep my thumb wrapped around the handle” and “USE THE CHAIN BRAKE!”. Taylor and I got our hands dirty practicing disassembly and maintenance of our saws. Just turning them on and running them can be a whole process in itself – especially at elevation.


Day two, we spent the morning discussing fireline creation methods and how to fall, limb (removing the branches) , and buck (cutting the trunk to size) a tree. Before the class, I didn’t really even know there were methods to using chainsaws, I thought they would zip through anything and that was that. I was definitely wrong. In falling a tree, you create a face cut about 30% into the bole, or tree trunk, that faces where you want your tree to fall. This cut is the beginning of creating a hinge for the tree to fall. The face cut creates a space in the tree to gain momentum to fall. After your face cut, you begin your back cut, a flat cut perpendicular to the tree that begins to shift the tree’s weight towards your face cut. These cuts, despite looking simple and straightforward, were extremely frustrating for me as I failed every practice cut. I finished day two disappointed and nervous for day 3, our field practice day, where I’d actually be dropping trees.


Even though I was nervous, day 3 was packed with necessary hands on learning. We were partnered in small groups with an evaluator, who would be assessing our skills on the final day. We spent the day at a ranch in Buena Vista. The owners were in need of clearing some trees in their pasture and removing their parasitic mistletoe, an invasive plant species that survives off of the Ponderosa and ultimately kills them. This space emulated an actual work site we might find ourselves in someday. My evaluator, Katie, was supportive yet critical, and facilitated my first tree fall!


Happy to have finally succeeded in felling, making my face cut, back cut, and falling my tree without it landing on anyone, I began evaluation day with determination to get my Sawyer A (without restrictions!).
Here is what we are evaluated on:

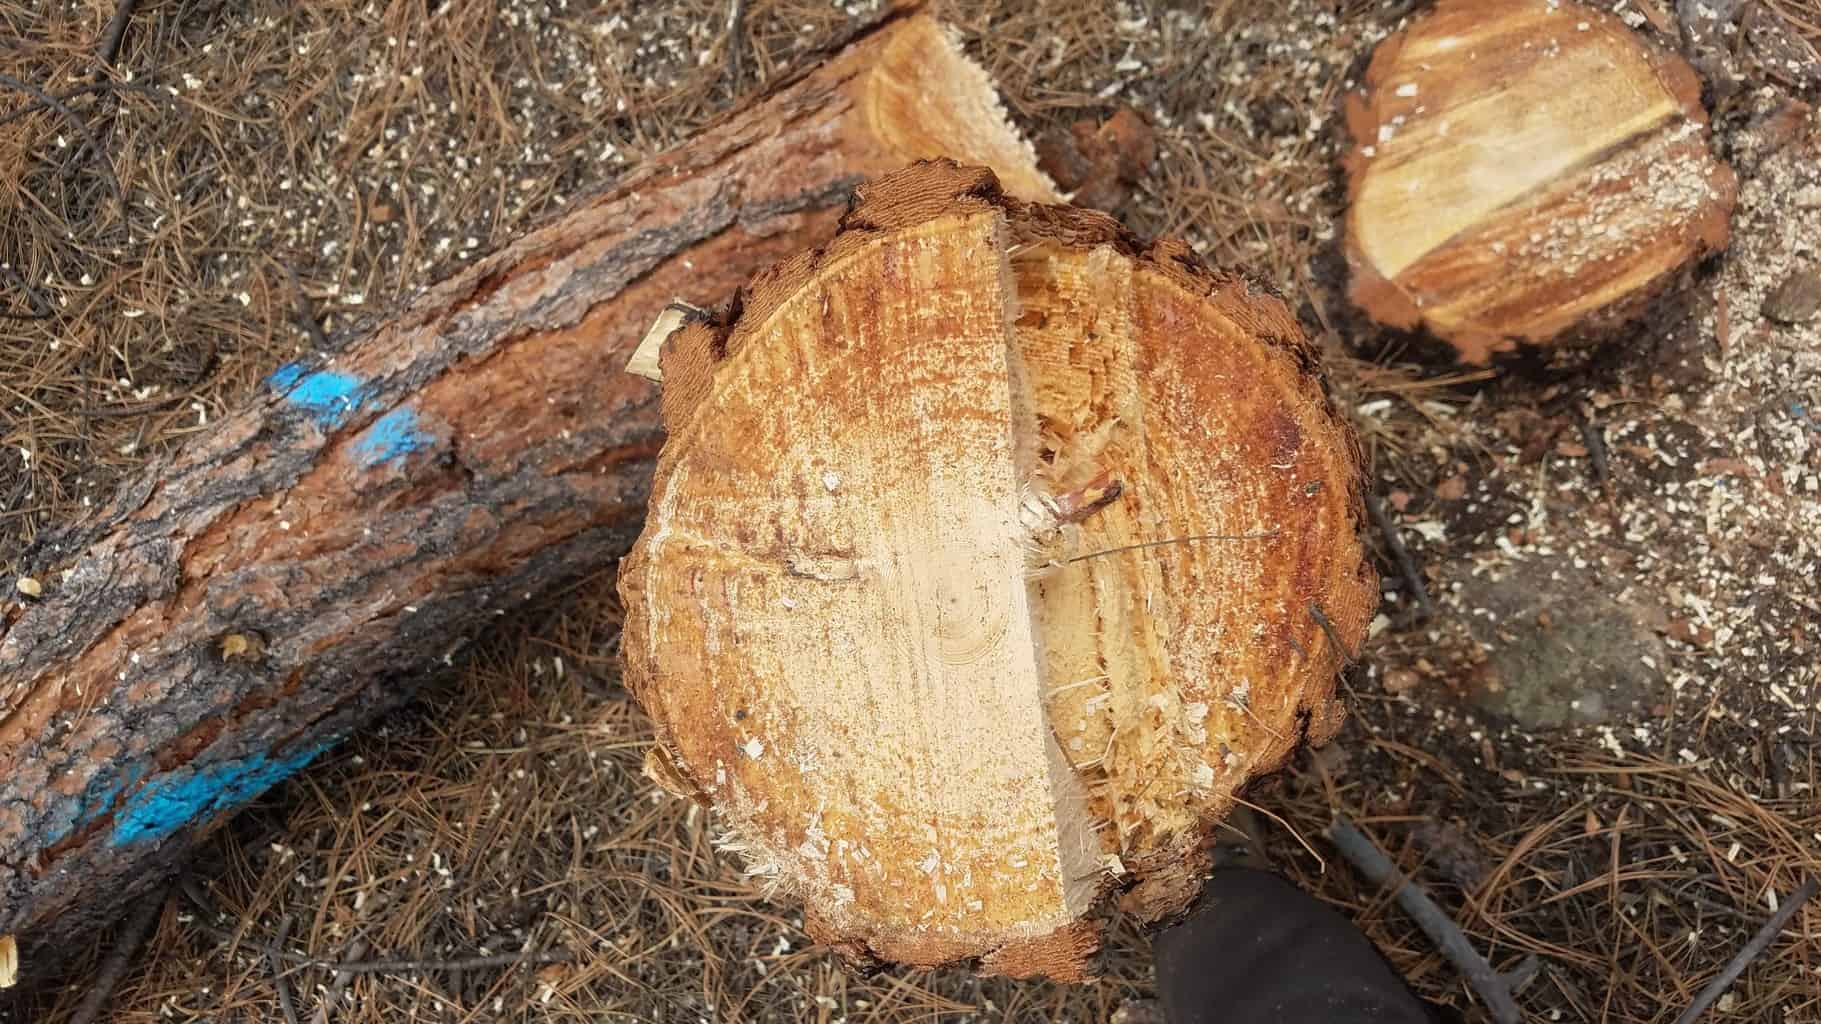
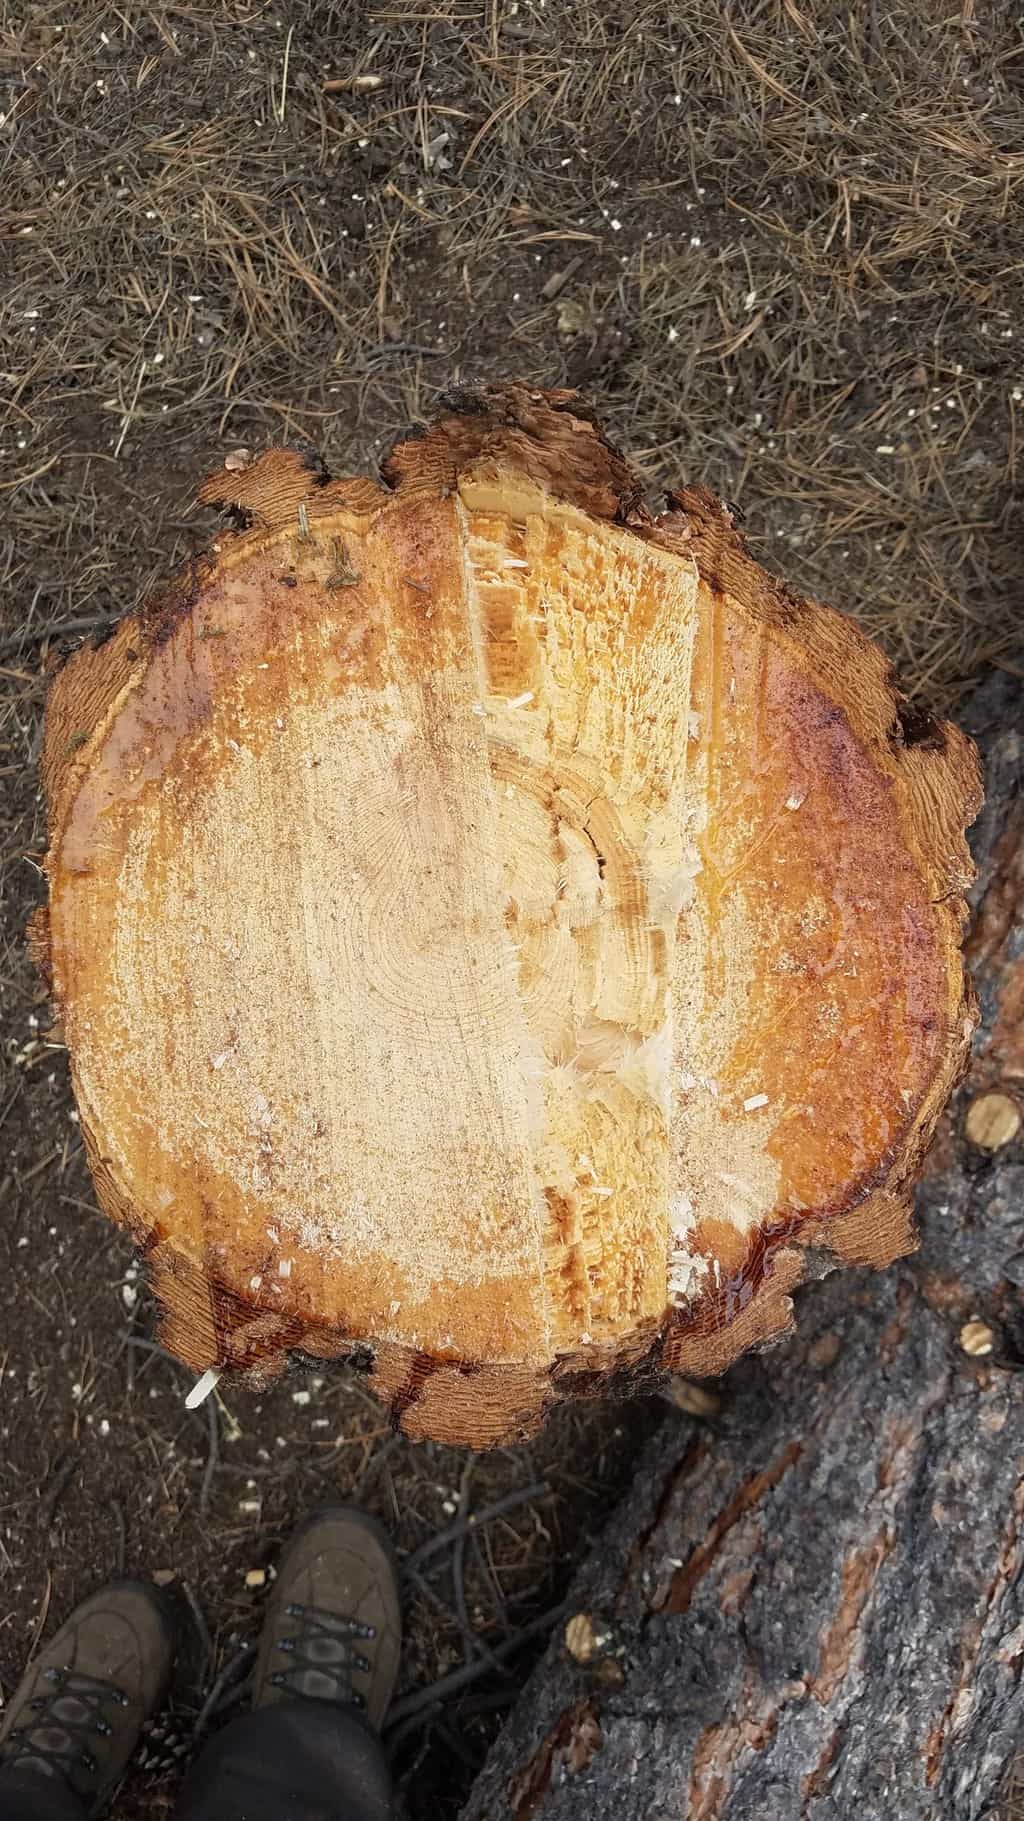
As we are assessed, the evaluator is silent unless something dangerous is about to happen. The general process is to assess any hazards in the area, assess our tree, the lean and where I want to lay it, find my escape routes, commit to the tree and make my cuts. It is important when felling to call cuts so your crew knows what is happening. They then assess your stump, where they can see your face cut size, hinge/holding wood size, and your back cut size,and whether they are level and even.
Stump analysis:

I’m pretty proud of my results for my first few trees ever! Taylor and I are both officially Sawyer A’s. While I will be working in the Mt. Evans wilderness and thus cannot use a chainsaw this season, Taylor will be utilizing his certification on Mt. Elbert for this seasons work, including buck and rail fencing.


